A French manicure is the perfect elegant touch to complete your look. To achieve it, you’ll need to learn the basic techniques, choose the right nail supplies, and follow a few tips. This article will provide you with all the information you need to successfully achieve your own French manicure at home.
Setting Up Your Nails Before the French Manicure
Before starting your French manicure, make sure you have a good base to work with. This means having well-groomed, clean nails filed to the same length.
Step 1: Care for Your Cuticles
Gently push your cuticles back toward the end of each nail using a wooden stick or a special spatula. Be careful not to cut them, as this can cause infections and unevenness.
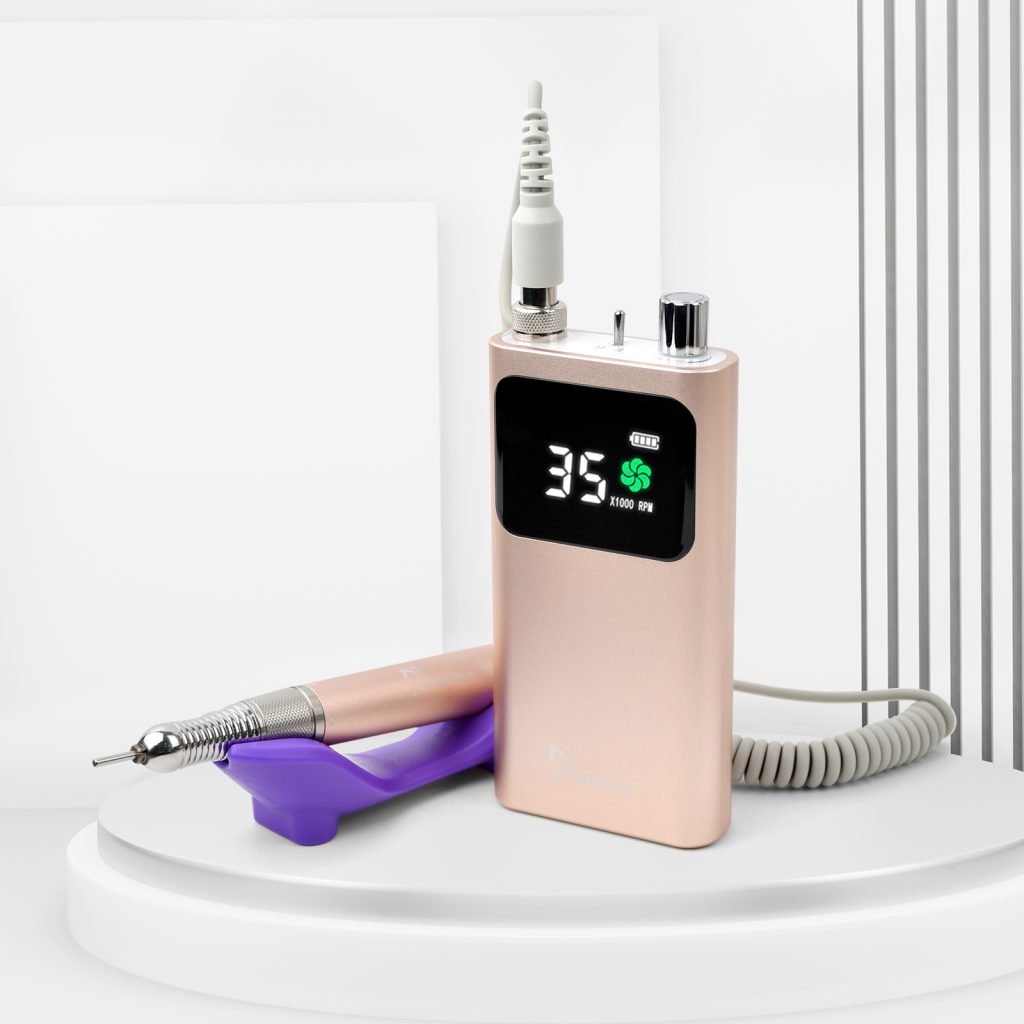
Step 2: File Your Nails
File your nails in one direction, from left to right or right to left. Use a quality nail drill to achieve smooth edges and prevent your nails from splitting.
Step 3: Clean Your Nails
Thoroughly wash your hands and nails with mild soap and warm water. Make sure no dirt or dust remains on your nails before starting your French manicure.
Choosing the Right Tools for a Successful French Manicure
The right tools are essential for a successful French manicure. Here are the essentials:
- Base coat: A clear, slightly pink, or beige nail polish, depending on your preference
- White nail polish: To create the thin half-moon strip at the tips of your nails
- Top coat: To protect and add shine to your manicure after application
- Adhesive guides: These will help you achieve a perfect curve for the tips of each nail
You can also opt for a French manicure kit containing everything you need.
French Manicure Step-by-Step Application
The application technique varies depending on the user, but here are the essential steps to follow:
Step 1: Applying the Base Coat
Apply a thin coat of base coat to all your nails, making sure to cover the entire surface, all the way to the root. Let it dry for about 5 minutes.
Step 2: Applying the Self-Adhesive Guides
Place the self-adhesive guides at the base of the desired white tip of each nail, following the natural shape of your nail. This will help you achieve a consistent and symmetrical smile on each nail.
Step 3: Applying the White Polish
Apply a thin, even coat of white polish to the tips of your nails, just above the self-adhesive guides. Let it dry for about 5 minutes before gently removing the self-adhesive guides.
Step 4: Applying the Top Coat
Apply a final coat of glossy top coat to all your nails to protect your French manicure and give it a more polished and professional look. Let it dry for another 5 minutes.
Tips and advice for a successful French manicure
1. For easy and precise application of white polish, use a thin brush that will allow you to follow the curve created by the adhesive guides.
2. Make sure all layers of polish are dry before moving on to the next step. It’s better to wait a few more minutes than to ruin your work.
3. Clean any traces of polish from your skin with a cotton swab soaked in mild nail polish remover.
4. When removing the adhesive guides, do so gently to avoid leaving marks on the white polish.
Options and variations for personalizing your French manicure
There are many ways to personalize your French manicure:
- Colors: Swap the white polish for a more unique color at the tips of your nails, or opt for a colored base coat instead of the traditional clear or pink ones.
- Glitter: Add a touch of glamour by applying a glittery top coat to the white tips or all of your nails.
- Decoration: Complete your French manicure with rhinestones, stickers, or other decorations available in specialty stores.
- Creative variations: Try a reverse French manicure, where the white stripe is placed at the base of the nail, or a double French manicure for a modern and sophisticated look.
Read also: Taming the Tenacious: Your Guide to Removing Semi-Permanent Polish & Nail Care After